
Installing PythonNet for Spyder
Spyder is a popular IDE for Python developers in math and science applications. PythonNet is not included in Spyder’s pre-built packages, so the following steps need to be taken to install PythonNet in Spyder:
1. First install Miniconda here: Miniconda — Conda documentation
2. Windows search for the Anaconda prompt
a. Right-click “Run as Administrator”

3. Run the following commands as recommended on the Spyder > Conda environment webpage:
conda create -c conda-forge -n spyder-env spyder numpy scipy pandas matplotlib sympy cython
conda activate spyder-env
conda config --env --add channels conda-forge
conda config --env --set channel_priority strict
a. If conda is not a recognized command, then it needs to be set up in the computer’s Environment Variables Path.
C:\ProgramData\Miniconda3
C:\ProgramData\Miniconda3\Scripts
C:\ProgramData\Miniconda3\Library\bin

4. Install Pythonnet by running:
conda install -c conda-forge pythonnet
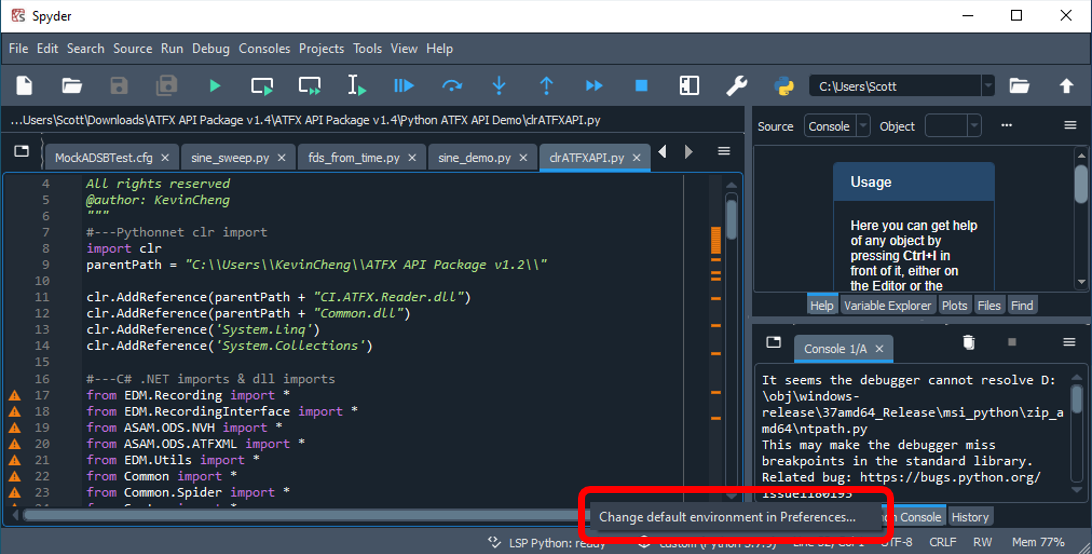
5. Open Spyder, and click the Python environment and select “Change default environment in Preferences” in the lower-right hand corner:
6. Select the dropdown under “Use the following Python interpreter” and select the entry corresponding to the environment you made in “Miniconda3" (aka name is “spyder-env” if you copied the commands above”
a. Note: if you only installed Miniconda for your own account, the file path may also be under: “C:\Users\<name>\miniconda3\envs\spyder-env”

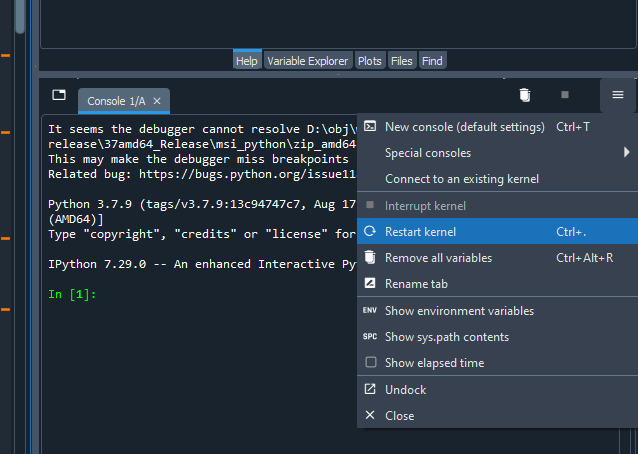
7. Click “Restart Kernel” at the console
8. “import clr” should successfully run now. You may need to restart the Spyder program or the Anaconda console.